For some people the mere thought of testing their own Central Air Conditioner seems like a daunting task, but doing it yourself is easy and will save you the cost of a service call to have a technician come and do it for you. Anyone can test to see if their Central Air is cooling properly and in just a matter of minutes. It requires a thermometer that you might not have lying around the house but the procedure stays relatively the same regardless of the unit you have.
1. Prepare Your Central Air Conditioning System For The Test

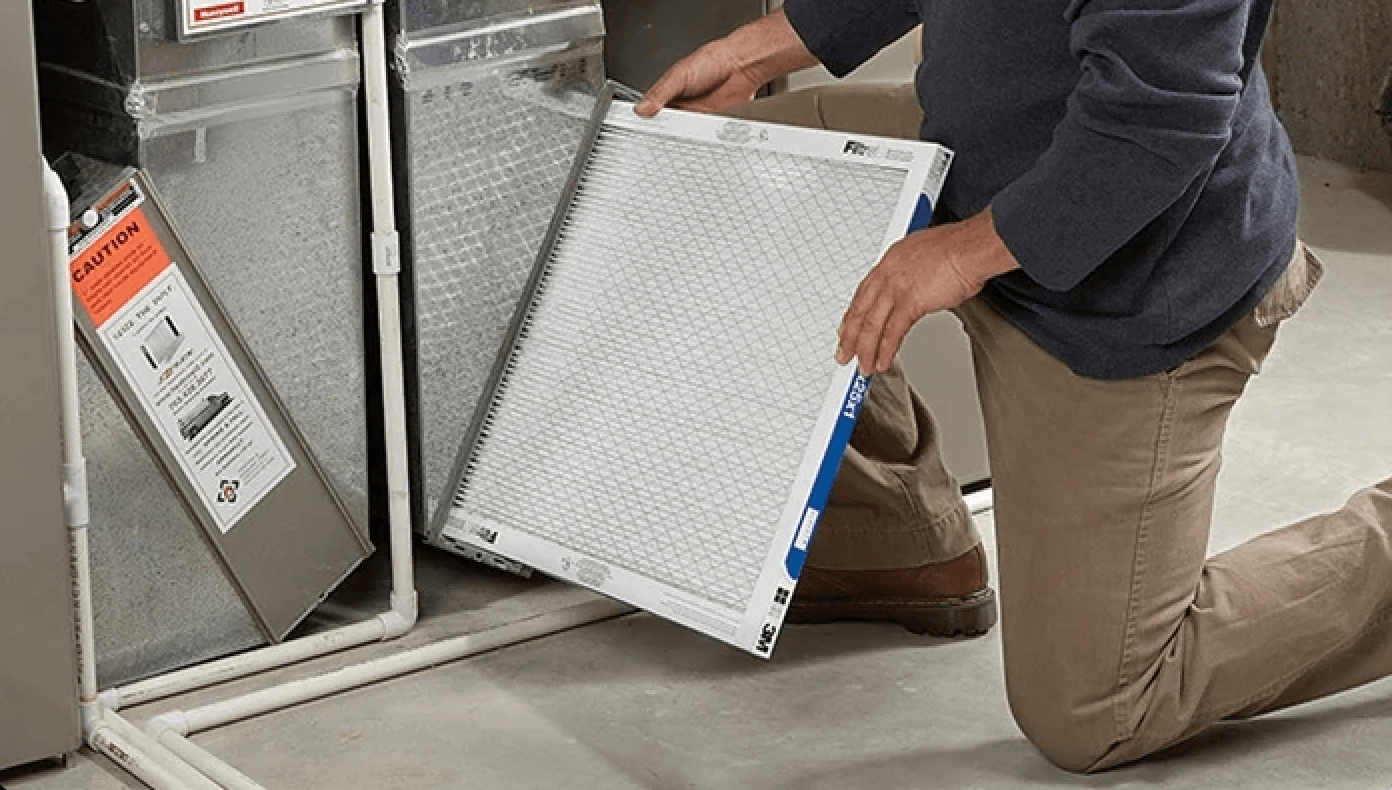
First, be sure you have replaced your furnace filter and then remove your vent covers prior to testing. This way you can rule out anything that would be restricting air flow as the cause for any problems. For loose fitting vents you should be able to easily pop them off. If they are fitted snug, you might need a tool to pry them off. Perhaps a flat head screwdriver or pliers.
If it comes down to taking apart the indoor or outdoor portions of your central air conditioner unit, please call a professional AC Contractor who has the proper expertise and experience along with proper tools, parts and equipment to do the job properly and more importantly safely.
2. Figure Out Where Your Return Air Ducts And Supply Air Ducts Are In Your Home


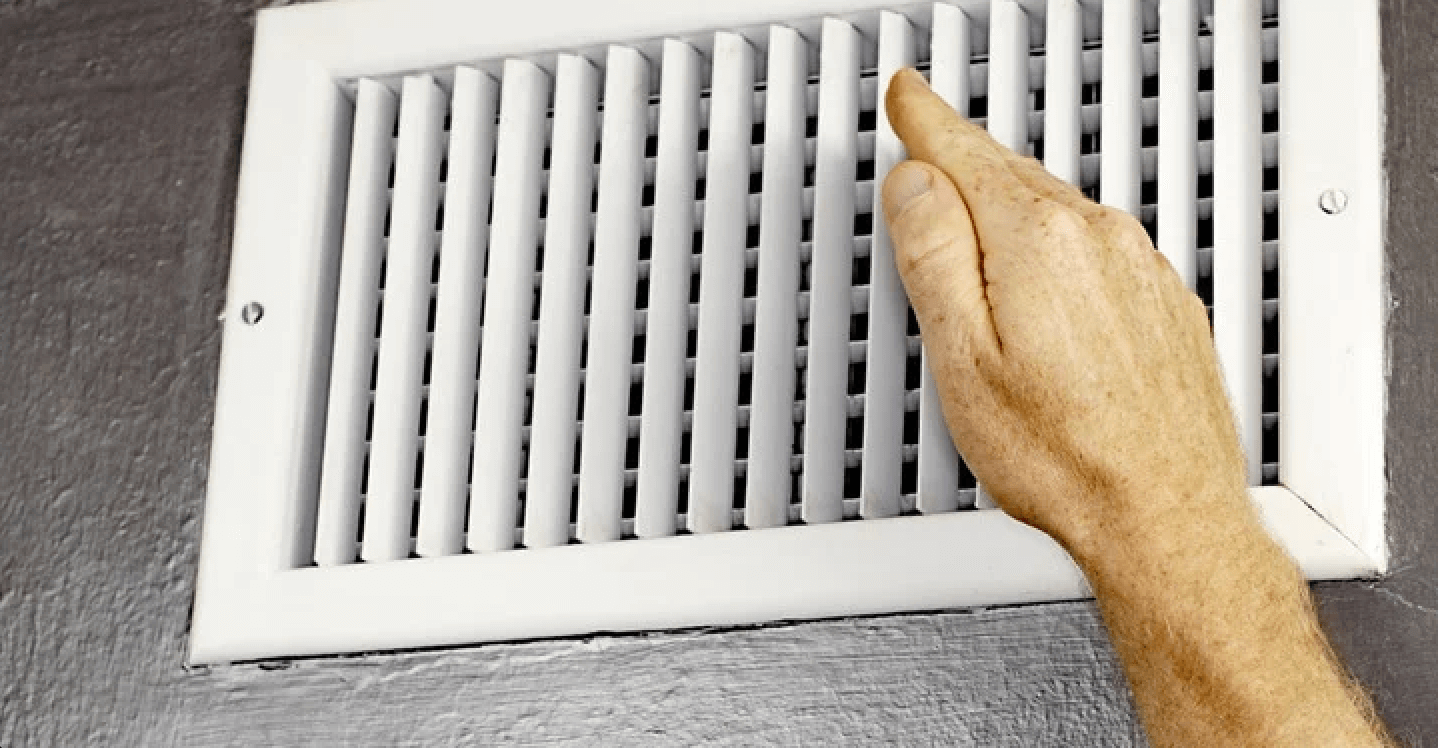
The next thing you will need to do is determine which ducts in your house are the return ducts and which are the supplies. To do this place a tissue over each duct in your house. When you place a tissue over a supply vent it will blow the tissue away from the duct. When you place the tissue over the return duct it will suck the tissue into it. After you’ve determined which of your ducts are returns and which are supplies you can began the test.
3. Turn On Your Air Conditioning Unit And Check The Temperature In Both The Return And Supply Air Ducts


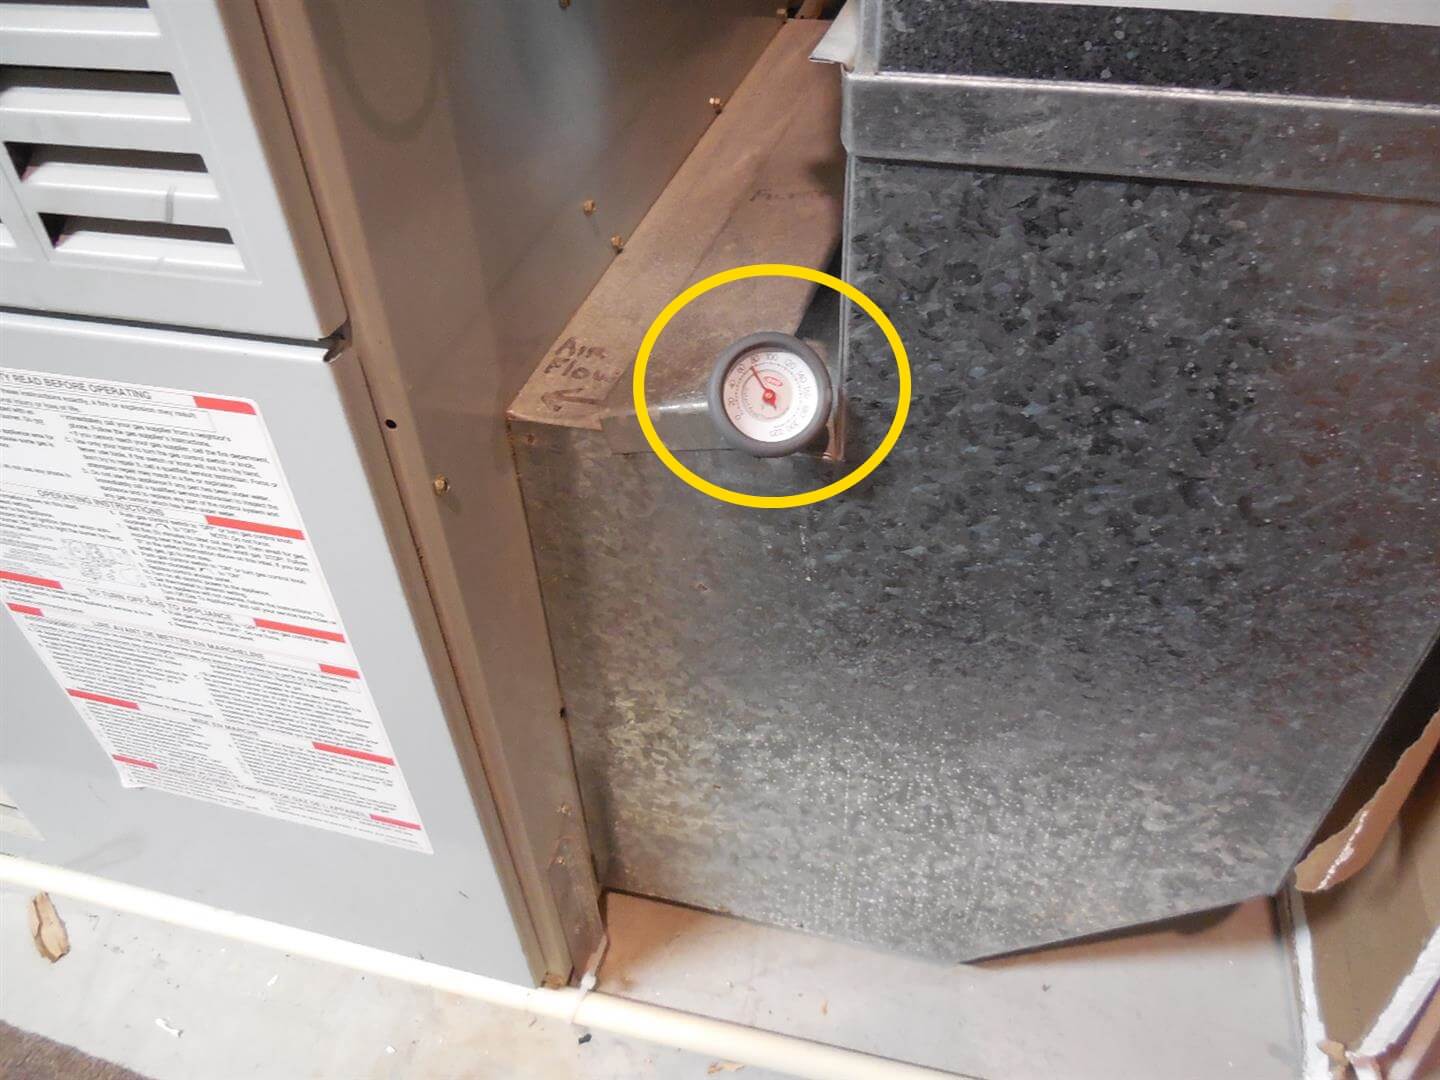
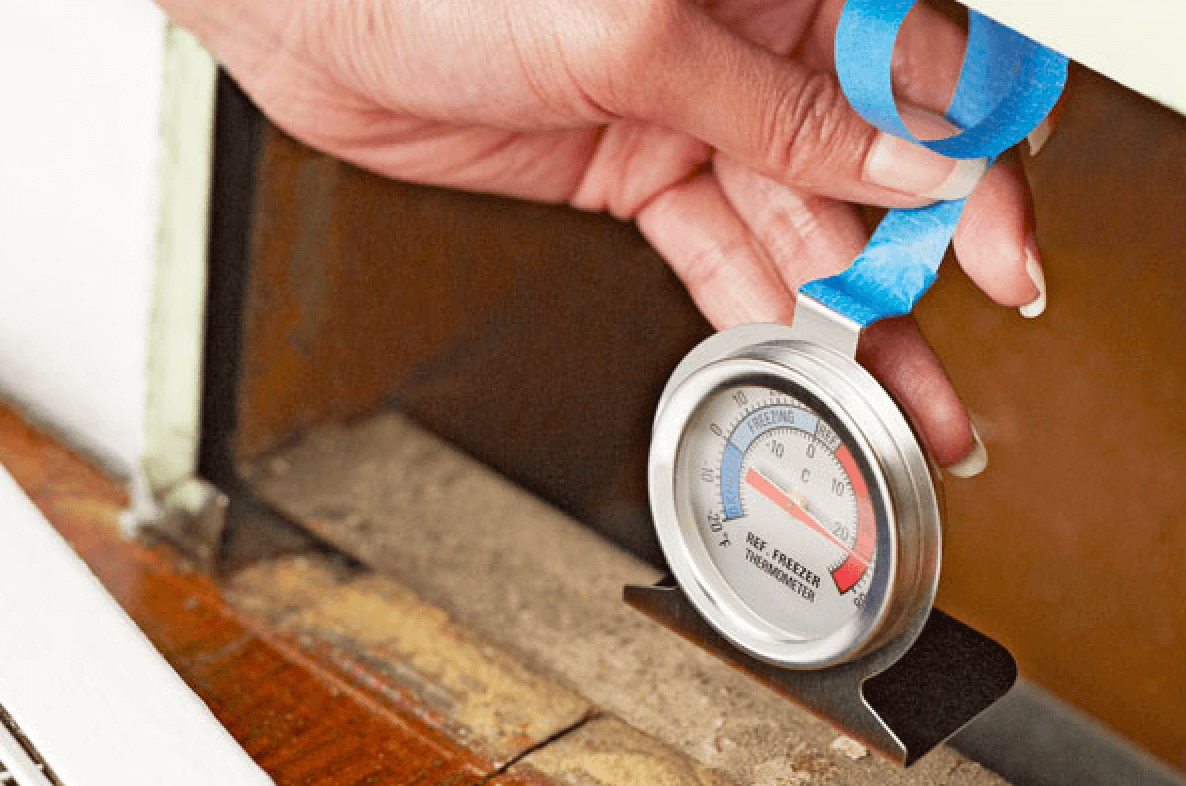
Next you will need to turn on the Air Conditioning. Be sure to set the thermostat for well below the current room temperature to ensure your AC will run long enough for the test. First, locate the closest supply air duct to your indoor AC unit. Then use a thermometer, even a refrigerator thermometer will work, and tape it just inside. Let your Air Conditioning run for about ten minutes then check and record the temperature. After recording your readings, now locate and test the closest return air duct to the unit the exact same way. Once again, leave your Air Conditioning continuously running for 10 minutes before you read your results and record. After you’ve done this calculate the difference between the two temperatures you recorded by subtracting the numbers.
The Results Of This Test Will Determine If Your System Needs Maintenance


So now that you have results, what’s this new information mean? On a properly running air conditioning system you should see a difference of 20 degrees between your supply and return air ducts. If the difference between your return to supply is less than 20 degrees your air conditioner could have a problem. If it does you could also be causing damage to your unit as it runs. It hard to say exactly what the problem would be without looking at it but a lot of the times at Neighborhood we find that the unit is low on refrigerant or needs a minor repair.
If you’ve done the test and your results are less than 20 degrees you might want to seriously consider contacting a professional AC Repair Company to come and check your system over before the problem gets worse. A minor repair now will be a lot less expensive than paying for a major repair that the problem could cause down the road.
If you’ve tested your system and noticed the difference between your supply and return air ducts was less than 20 degrees call today to speak with an Air Conditioning expert from Neighborhood Plumbing, Heating, Air Conditioning and Electrical. We have a friendly team of experienced staff and AC Maintenance Technicians available to help you 24 hours a day.


